This post may contain affiliate links. Please read our disclosure policy.
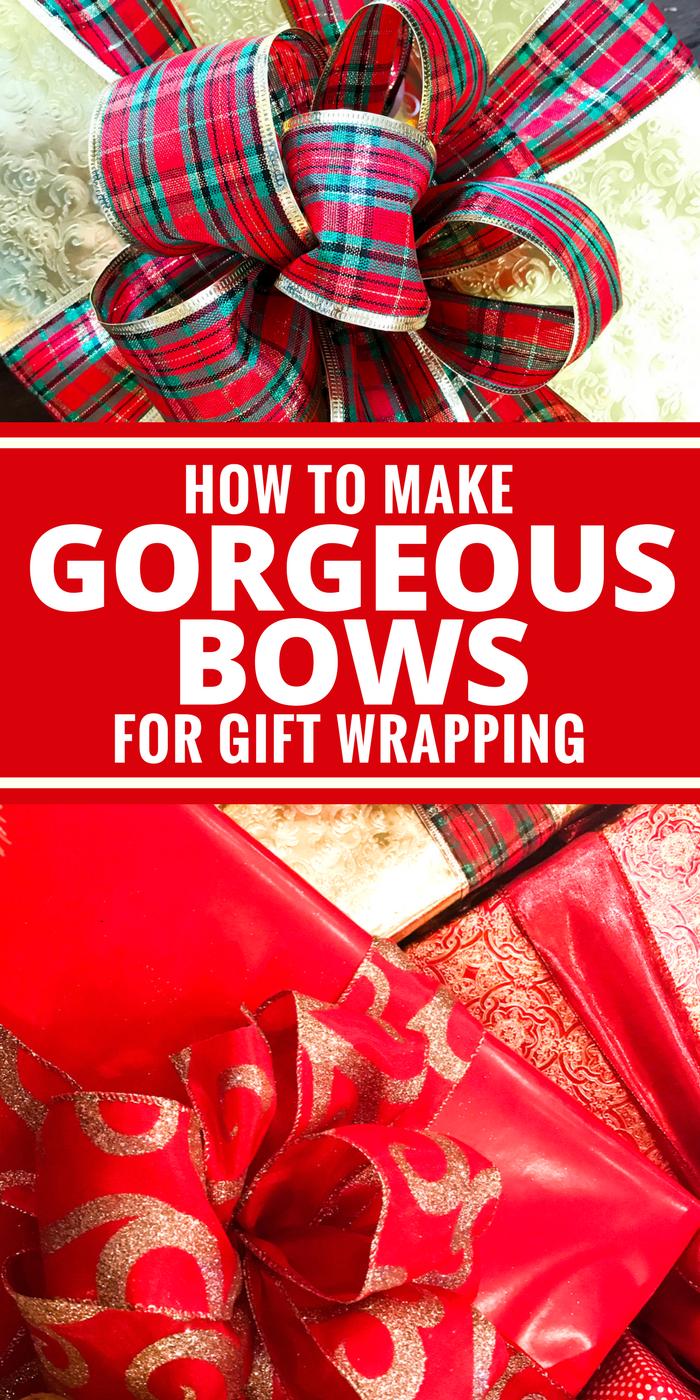
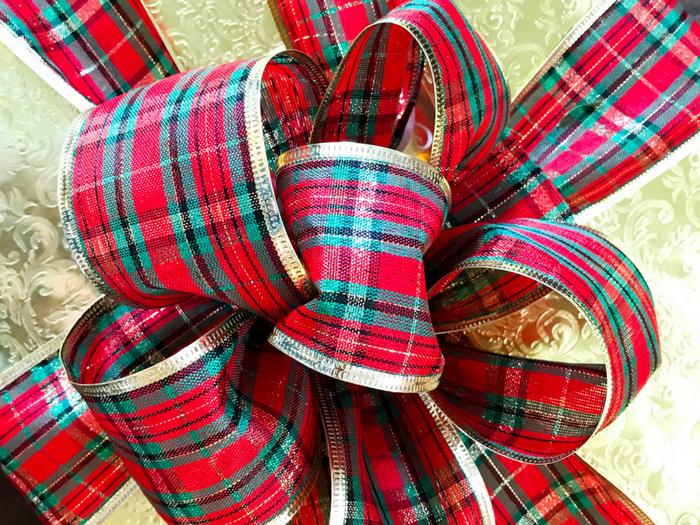
Take your gift wrapping to the next level with these gorgeous bows! It’s easier than you think! I create one of these beauties for every single package under my tree.
Around 20 years ago my mom and I were finishing up our Christmas shopping when we made a stop at a boutique in my hometown. I have no idea what we bought but what I remember is watching the young woman wrap the purchase with one of these stunning bows. I’ve been making them this way ever since!
Check out the tutorial below to learn how to make your own.
Want some tips? I’ve got ’em for you!
- The ribbon I prefer is 2 1/2 inches wide. You can (and I do) make these bows with larger and smaller widths occasionally, but 9 times out of 1o this is the width I’m using.
- I purchase all of my ribbon from Hobby Lobby or Sam’s Club. I can get 90 feet at Hobby Lobby for about $5 (it’s $9.99 but 50% off). Sam’s Club sells 50 yards (or 150 feet) for about $7. You can of course purchase great ribbon from other retailers. These are my go to retailers because I’m always happy with both their quality, selection, and price.
- Ribbon with a wire edge will stand up best. Often times it will say it contains wire on the package itself. If it doesn’t specify you can easily tell by examining the ribbon yourself. Mesh ribbon also works very well!
- If you’re using this technique to create a bow for the top of your Christmas tree you’ll find that a wide mesh ribbon is an excellent option. One modification I make when doing this is instead of creating the half circles (step 2 in the video) I just cut a small slit on each side instead.
Have a question? Leaving it in the comments here or on my YouTube channel. I’ll reply to as many as I can.
I hope you love these bows as much as I do! Happy wrapping!


